
The most reliable way to match stain on old trim is to identify the existing finish first, then build color in controlled layers rather than reaching for a single can of stain. Confirm whether shellac, lacquer, varnish, or penetrating oil coats the wood, scuff-sand instead of stripping when the finish is sound, and layer a dye or wiping stain under a gel stain or glaze before sealing to the surrounding sheen.
TL;DR:
- Test a hidden spot with denatured alcohol, then lacquer thinner: softening identifies shellac or lacquer, while neither reaction points to varnish or penetrating oil.
- For sound finishes, clean and scuff sand flats using 220 grit, hand sand profiles, and strip only failed areas or wood that must be lightened.
- Build color on matching scrap, record product ratios, and correct red or yellow undertones with tiny green or violet additions instead of simply darkening stain.
- Once the base color is close, apply glaze over a thin dewaxed shellac seal coat, then judge cured satin or semigloss samples in the room.
- Call a restoration shop for historically significant trim, carved profiles, suspected lead paint, or rot, and bring natural light photos plus solvent test results.
Table of Contents
- How to identify the existing finish and its condition
- Surface prep that preserves historic profiles: cleaning, repair, and gentle sanding
- Make test swatches and record mixes: practical step-by-step mixing and iteration
- How to apply the matched recipe so new trim blends with aged woodwork
- Seal, test in place, and final verify the match under room light
- Our approach favors conservation over removal whenever a finish is sound enough to support it, reserving stripping for cases where the wood needs to go lighter or an old glaze layer has to come off entirely. In practice, that means applying seal coats between color layers, using stains for controlled darkening on vertical profiles, and glazing applied in small, tested increments rather than broad strokes.
- When to hire a pro: complexity signals and what pros deliver
- Gepetto Millworks: service summary and how to contact for color-matching and restoration
- FAQ
- Sources
How to identify the existing finish and its condition
Every historic finish behaves differently under a brush, so identifying what coats the wood determines whether we restore, recoat, or strip. A simple solvent test resolves most ambiguity: dab denatured alcohol on a hidden spot, and if the finish softens or lifts, it is shellac. If the alcohol has no effect, try lacquer thinner; softening there points to lacquer, while no reaction from either solvent usually means varnish or a penetrating oil finish.
- Shellac softens under denatured alcohol and often indicates an older, repairable finish.
- Lacquer softens under lacquer thinner and typically tolerates a fresh topcoat once cleaned.
- Varnish or penetrating oil resists both solvents and usually needs mechanical scuffing before any new product adheres.
Condition matters as much as chemistry. An intact finish that is merely dull or lightly scratched can often be revived through cleaning and a light recoat rather than full removal, which preserves the original patina that gives old trim its character. A failing finish, by contrast, with flaking, alligatoring, or bare wood, forces a different path: limited stripping, targeted repair, and rebuilding color from a cleaner base.
Surface prep that preserves historic profiles: cleaning, repair, and gentle sanding
Profile detail on historic trim is unforgiving once it is sanded away, so preparation has to protect the molding’s edges before any color work begins. Cleaning comes first: wipe down the surface with turpentine or a mild solvent recommended for the finish type to remove decades of wax and grime that would otherwise trap new stain unevenly.
- Clean thoroughly. Remove accumulated wax and surface grime before testing anything, since residue skews both solvent tests and stain absorption.
- Repair damage appropriately. Fill dents and gouges with a stainable wood filler on bare sections, or use a color-matched putty where the surrounding finish is intact and only cosmetic repair is needed.
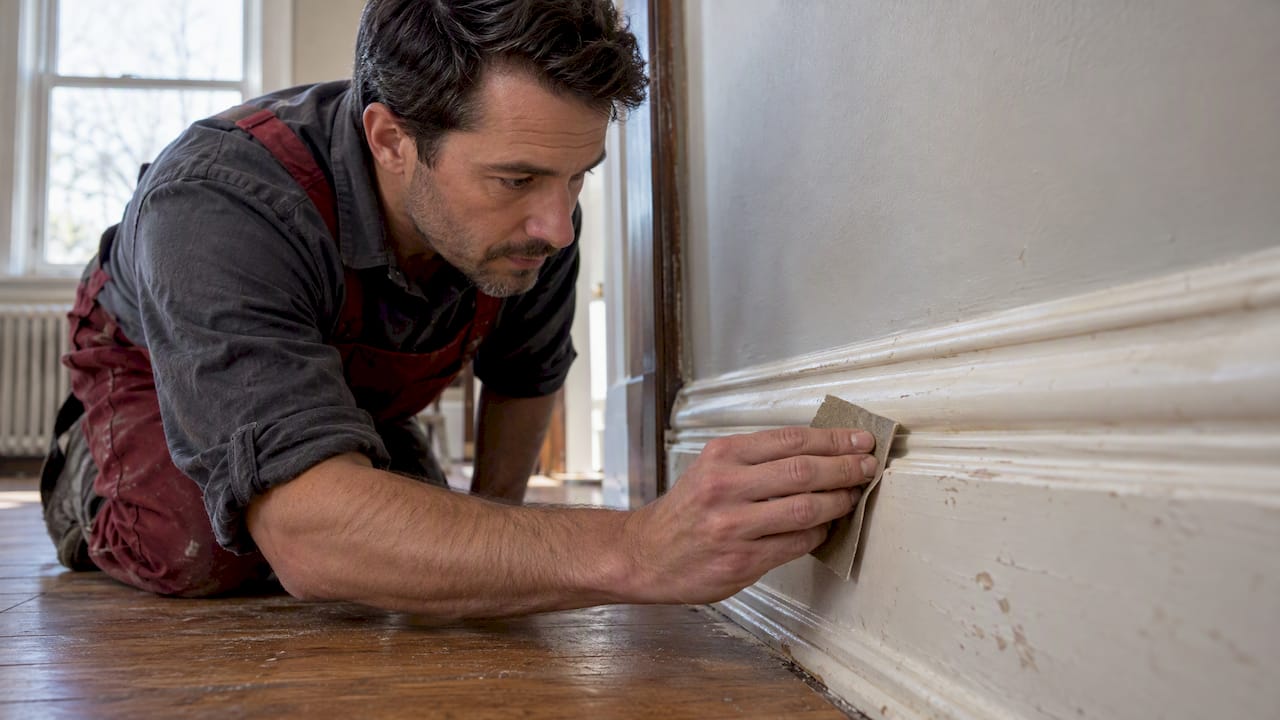
- Sand conservatively. Scuff-sand flats with 220-grit paper to open the surface for adhesion, and hand-sand curves and profiles with folded paper or a flexible sanding sponge to avoid rounding crisp edges.
- Strip selectively, only when necessary. A gel-type stripper clings well to vertical surfaces and reduces gouging on detailed molding, which matters because stain can only darken wood: lightening an existing finish requires removing it first.
Pro Tip: Test every cleaner, filler, and stripper on a hidden section of the same trim run before committing, since even a mild solvent can leave a halo on aged shellac.
Power sanders flatten profiles in seconds and are difficult to control on ogee or bead details, so reserve them for broad, flat surfaces and keep hand tools close by for everything else.
Make test swatches and record mixes: practical step-by-step mixing and iteration
A reliable stain match is built on paper before it ever touches the trim. Cut a test substrate from the same species as the original woodwork, or from a clear hardwood scrap when matching species is not practical, since grain structure and porosity change how pigment and dye absorb.
Start with a light wiping stain or dye as the base layer, then adjust toward the target with a gel stain, an oil-based wiping stain, or small additions of universal pigment. Each adjustment should be minor: a tablespoon-scale change in ratio can shift a sample from a warm honey tone to a muddy brown, so patience at this stage saves rework later.
- Label every sample with the exact product names, mix ratios, and drying time so a result can be reproduced weeks later.
- Note the ambient conditions (temperature, humidity, lighting) since they affect how a stain levels and dries.
- Keep a labeled sample card for each attempt, ideally photographed after sealing, following the practice professionals use to build a recipe swatch book for repeatable results on a single project.
Undertone correction often matters more than overall darkness. Old trim frequently carries a reddish or yellow cast from decades of oxidation and prior finishes, and simply applying a darker stain rarely corrects that. Small, controlled additions of pigment or dye neutralize the dominant cast: a touch of green dampens an overly red tone, while a trace of violet counters a strong yellow bias. These adjustments work in tiny increments, and over-layering opaque colorants obscures the grain, which is a mistake that usually means starting over on stripped wood.
Glazing comes last in the build-up, after the base color is close, because a glaze reproduces the soft shading and wear patterns that accumulate in corners and along edges rather than solid color. A thin, dewaxed shellac seal coat between the base stain and the glaze prevents the glaze solvent from disturbing the color underneath, a sequence that professional finishers rely on when reproducing complex historic tones.
How to apply the matched recipe so new trim blends with aged woodwork
Application technique determines whether a correct recipe actually reads as a seamless match or sits as an obvious patch. The goal at every seam is a gradual transition rather than a hard line between old and new material.
- Feather the edges. Apply stain more thinly as you approach a seam or joint, working the brush or rag in overlapping passes so no sharp boundary forms where new trim meets old.
- Build depth in thin layers. Several light coats produce more even, controllable color than one heavy application, and each layer can be checked against the original before moving forward.
- Add a glaze for worn undertones. A thin glaze wiped into corners and recesses, then softened on the flats, mimics the uneven darkening that decades of handling and light exposure leave behind.
- Match the topcoat sheen. A satin finish reads differently than semi-gloss even when the color underneath is identical, so the final clear coat has to match the surrounding sheen, not just the stain color.
Pro Tip: Apply the topcoat to a test board and let it cure fully before judging the final color, since some sealers shift tone slightly as they dry.
Seal, test in place, and final verify the match under room light
Sheen changes how a color reads even when the pigment underneath is identical, which is why the sealing step is not just protective, it is part of the color match itself. A satin topcoat mutes contrast and deepens perceived tone, while semi-gloss sharpens highlights and can make the same stain look lighter.
- Test both satin and semi-gloss samples side by side before committing to a topcoat for the whole run.
- Let samples cure fully, then check them in the actual room under its own lighting, since a match that looks correct under shop light can shift noticeably under incandescent or daylight conditions at home.
- Expect to make minor tweaks, such as a light glaze touch-up, after seeing the cured sample in place.
- If the gap between old and new remains visible after reasonable adjustment, that is usually the point to bring in a restoration shop rather than keep reworking the same section.
Our approach favors conservation over removal whenever a finish is sound enough to support it, reserving stripping for cases where the wood needs to go lighter or an old glaze layer has to come off entirely. In practice, that means applying seal coats between color layers, using stains for controlled darkening on vertical profiles, and glazing applied in small, tested increments rather than broad strokes.
The best match is the one you can reproduce on the next piece of trim, not just the one that looks right today.
Readers curious about how this plays out on a full project can look through our historic cabinet restoration case notes or browse examples in our 19th century home archives.
When to hire a pro: complexity signals and what pros deliver
Certain signals favor calling a restoration shop rather than continuing to test on-site: documented historic significance, deeply carved or compound profiles, or any suspicion of lead paint or structural rot beneath the finish. A professional shop brings profile replication tooling, tested color recipes, and a controlled finishing environment that is difficult to reproduce in a garage. Before reaching out, photograph the trim in natural light, save a small sample if any piece is removable, and note the results of your own solvent tests.
— Gepetto
Gepetto Millworks: service summary and how to contact for color-matching and restoration
When a match calls for replicated profiles, new sashes, or full restoration rather than another round of test swatches, our shop takes on the fabrication work directly.
- Historic trim and window restoration, including finish matching tied to tax credit requirements.
- Custom casework and millwork replication when a damaged section needs a profile-matched replacement piece.
- Residential woodworking services for homeowners managing a single room or a full historic renovation.
Review a few project examples, gather your samples and photos, and reach out through our Historic Window Restoration page to request an estimate.

FAQ
How to match an old stain?
Identify the existing finish with a solvent test, then build color gradually using a dye or wiping stain as a base, adjusting with gel stain or small pigment additions until the undertone matches. Keep a labeled sample board for every mix so the final recipe can be reproduced across the whole trim run.
Can you get wood stain color matched?
Yes, through iterative test swatches on scrap wood of the same species, adjusting ratios of dye, stain, and glaze until the sample matches the original under the room’s actual lighting. Many finishers also consult general color-matching and test-swatch principles developed for refinishing other wood surfaces, since the testing logic carries over.
Is stained trim outdated?
Stained trim is not outdated; it remains standard in historic and traditional interiors, though some homeowners now mix painted and stained elements for contrast rather than matching everything. That design choice is a matter of preference, not a sign that stain itself has fallen out of favor.
How to match existing cabinet stains?
Use the same identify-then-layer approach as trim: confirm the existing finish type, test a dye or stain base on a matching scrap, then refine with gel stain and glaze until the sheen and undertone align. Cabinet doors often show more visible wear patterns than trim, so glazing in corners and edges tends to matter more for a convincing match.
What causes stain to look different on old versus new wood?
Aged wood has oxidized, picked up ambient light exposure, and often carries residue from old finishes, all of which shift its undertone compared to fresh lumber. This is why undertone correction through small pigment adjustments usually succeeds where simply choosing a darker stain color does not.
Sources
- Identifying your existing finish — Waterlox
- How to restore wood trim — WoodworkingAdvisor
- Wood finishes and multi-step glazing — iRestoreStuff
- Fix a wood stain mistake — This Old House