
Reglazing is the correct route when a sash retains sound joinery and its wood is free of significant rot, and it should begin only after lead-safe preparation and any necessary structural repairs are complete. Choose a compound suited to the exposure, whether shop-cured or applied on site, and respect its full skin time before priming. Skipping these two conditions, sound sash and lead-safe prep, is the most common reason a reglazing project fails.
TL;DR:
- Proper reglazing requires a sound sash and lead-safe preparation; skipping these steps is the leading cause of project failure.
- Back-bedding the glass with a thin layer of putty before setting it prevents moisture intrusion that causes wood rot.
- Use the appropriate compound for the environment; shop-cured linseed putty indoors and weather-appropriate formulations like Sarco DualGlaze outside.
- Secure the glass with glazing points every 6 to 8 inches and avoid painting until the putty has fully skinned to prevent moisture entrapment.
- For complex repairs or deteriorated sash, professional restoration with documentation and replication often ensures long-term success.
Table of Contents
- What glazing is and why it matters for historic windows
- Inspect and prepare: a checklist, lead-safety triggers, and repairs to complete first
- Step-by-step reglazing workflow: tools, materials and technique
- Common mistakes, troubleshooting, and quick fixes
- Perspective from Gepetto Millworks: planning, documentation, and when to hire a pro
- The gap between what glazing promises and what it actually delivers
- How Gepetto Millworks can help with historic window restoration
- Sources
- FAQ
What glazing is and why it matters for historic windows
Glazing putty is the material that seals glass into its rabbet, the milled recess along the inside edge of a sash. Properly applied, it does more than hold the pane in place: it sheds water away from the joinery, cushions the glass against thermal movement, and forms the final barrier between the elements and the wood beneath. When that seal fails, moisture works its way into the sash corners, and moisture, not age, is the primary force behind wooden window decay, according to the National Park Service’s technical guidance on repairing historic wooden windows.
The preservation case for repair over replacement rests on more than sentiment. The National Park Service notes that windows typically account for only a modest share of a building’s total heat loss, and that a well-maintained original sash paired with weatherstripping and storm windows can match or exceed the long-term performance of a replacement unit, according to its window performance guidance. Original sash were often milled from old-growth timber with a density and stability that modern lumber rarely matches.
- Glazing seals the glass and directs water away from the sash joinery.
- Repair retains historic material that a replacement unit cannot restore once discarded.
- A well-restored sash with storms can meet the performance of new construction.
Inspect and prepare: a checklist, lead-safety triggers, and repairs to complete first
Before any putty comes out, walk each window and record its condition. Preservation Brief 9 recommends a unit-by-unit survey paired with a window schedule and photographic record, a practice that keeps multi-window projects organized and prevents repeated diagnosis of the same problems, according to the National Park Service’s repair guidance.
- Note paint condition, sill slope, and any standing water paths.
- Check sash corners and rails for soft wood, checking, or open joints.
- Record which panes have cracked, missing, or failed glazing.
- Test hardware, sash cord or balance function, and overall operation.
- Measure each opening for the window schedule before starting repairs.
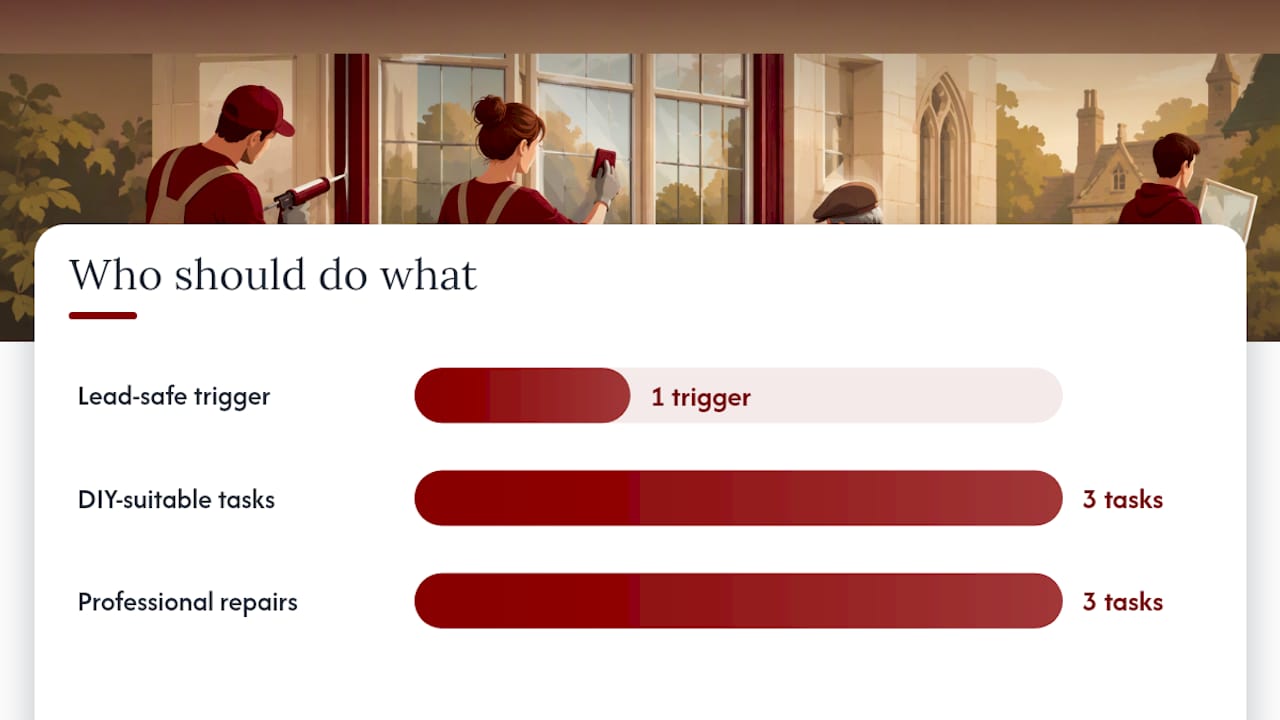
If your house predates 1978, assume lead paint is present until tested otherwise. Under the EPA’s Renovation, Repair, and Painting rule, disturbing painted surfaces on pre-1978 housing triggers lead-safe work practices, including containment and a ban on open-flame burning or uncontrolled high-heat tools, a requirement that applies squarely to window glazing work, according to the EPA’s RRP program details.
Simple tasks, cleaning out old putty, priming bare wood, resetting a loose pane, sit comfortably within DIY reach once lead-safe prep is in place. Consolidating rotted wood fiber, rebuilding a sash corner, or replacing a full rail are different matters. Those repairs demand judgment about load paths and joinery that a professional restorer, rather than a first-time DIYer, is better positioned to make.
Step-by-step reglazing workflow: tools, materials and technique
Removing old, hardened putty is the first real test of patience. Manual scrapers and hook tools work, but many restorers prefer infrared heat tools because they soften decades-old putty and paint without an open flame, a distinction that matters both for the glass and for lead-safety compliance, a point echoed in trade guidance on reglazing old windows. Whichever method you choose, work in small sections, protect the glass from thermal shock, and contain paint debris under EPA RRP practices throughout.
Once the rabbet is clean and any bare wood is primed with an oil-based primer, the real technique begins.
- Back-bed the glass first. Lay a thin bead of putty into the rabbet before setting the pane; this bedding layer is what keeps condensation from reaching the joinery, a detail restorers consistently flag as the step DIYers skip.
- Set glazing points every 6 to 8 inches around the pane to hold it firmly while the face putty cures, a spacing confirmed in professional glazing workflows described by Fine Homebuilding’s 2026 glazing guide.
- Pack and tool the face putty into a beveled ribbon that sheds water away from the glass, working the putty knife at a consistent angle for a clean line.
Compound choice depends on where the work happens. A controlled shop environment, the kind used for full sash restoration, often calls for a Type M linseed putty formulated for interior glazing conditions. For exterior, on-site work exposed to weather and temperature swings, Sarco DualGlaze is a linseed and soy-based compound that meets federal specifications for glazing compounds and typically forms a paintable skin in 2 to 3 weeks depending on temperature, according to its product documentation.
Pro Tip: Do not prime or paint the putty until it has fully skinned; painting a soft bead traps moisture underneath and shortens the life of the seal by years.
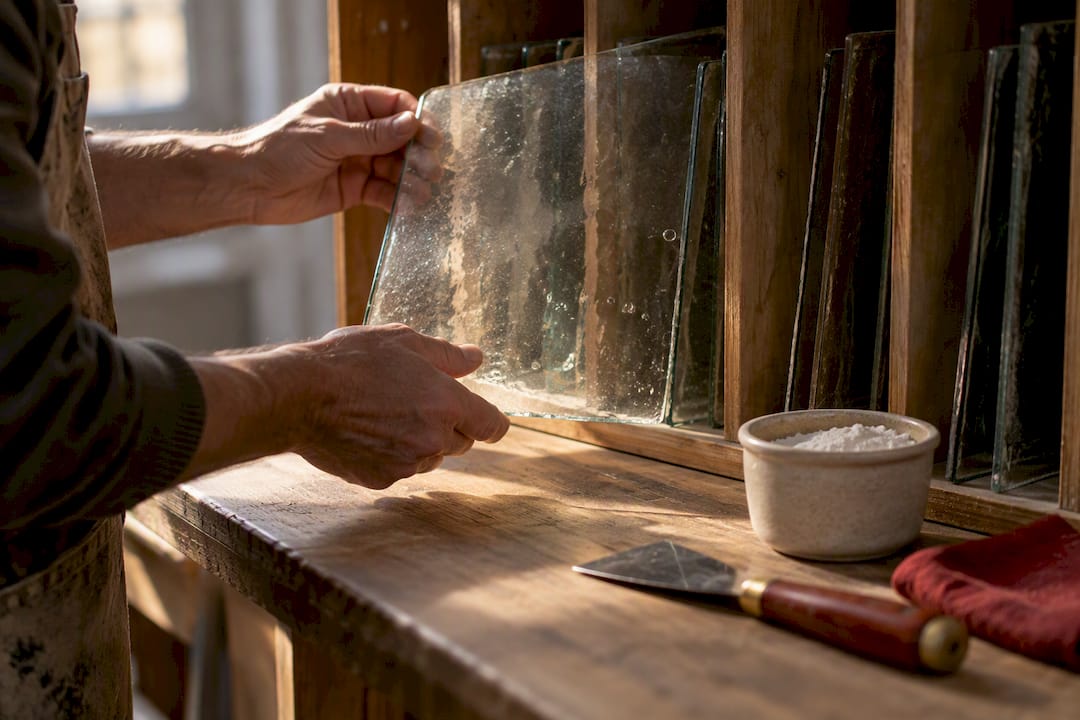
Cleanup is straightforward: whiting powder lifts oily residue from glass, and mineral spirits clean tools before the putty sets. Salvaged old glass, with its faint waves and bubbles, is worth keeping aside for reuse in other sash rather than discarding it with the debris.
Common mistakes, troubleshooting, and quick fixes
Most glazing failures trace back to a handful of repeatable errors, and most are avoidable once you know what to watch for.
- Skipping the back-bed. Glass set directly on bare wood without a bedding layer lets condensation soak into the rabbet, and rot follows even when the exterior bead looks intact.
- Using an interior compound outdoors. A putty formulated for shop conditions can crack or shrink prematurely when exposed to weather it was never designed to handle.
- Spacing points too far apart. Loose glass shifts as the putty cures, opening hairline gaps along the bead.
- Painting before the skin forms. Trapped moisture beneath fresh paint accelerates the very decay the glazing was meant to prevent.
Small voids or a cracked bead section can usually be cut back and repacked without disturbing the whole pane. If the same window keeps failing within a season or two despite correct technique, the problem is often not the putty at all. Sash movement from a swollen or shrinking frame, or a joint that has opened at the corner, will keep breaking the glazing seal until the underlying structural issue is addressed.
Perspective from Gepetto Millworks: planning, documentation, and when to hire a pro
On any project involving more than a handful of windows, the paperwork matters as much as the putty knife. Restorers commonly build a window schedule alongside a photographic record for every opening, a practice that keeps repairs consistent across a whole facade and prevents the same defect from being diagnosed twice. That level of planning is where a full-shop restoration starts to make more sense than in-place patching, particularly on structurally compromised sash. Readers weighing that decision can browse Gepetto Millworks’ restoration projects for a sense of what shop-based work involves.
The gap between what glazing promises and what it actually delivers
The conventional advice on this subject treats glazing as a cosmetic finishing step, something you do after the real repairs are finished. That framing gets the priority backward. The bedding layer under the glass, the part nobody sees once the sash is painted, does more to determine whether a window survives another fifty years than the visible bevel of the face putty ever will. A tidy exterior bead over a bare rabbet is a failure waiting on the next humid summer.
The other overrated idea is that reglazing is either trivial or impossible, with no middle ground. In practice, most competent DIYers can manage inspection, prep, and reglazing on sound sash. What they underestimate is compound selection: treating all glazing putty as interchangeable, when shop-cured and weather-exposed work call for genuinely different formulations. Get the back-bed and the compound right, and the visible tooling technique matters far less than most guides suggest.
— Gepetto
How Gepetto Millworks can help with historic window restoration
When a sash has gone past what a putty knife and patience can fix, split rails, rotted corners, or glazing that keeps failing no matter the compound, that is the point to call in a shop built for it. Specialized restoration shops handle historic window restoration and custom millwork for projects that exceed the scope of a weekend repair, including full sash rebuilding and replication that meets standards for historic tax credit eligibility.
A professional estimate typically starts with an on-site assessment, a window schedule documenting each opening, and a repair plan that separates what can be reglazed from what needs shop rebuilding.
- On-site condition survey of each window opening.
- A written repair plan distinguishing in-place work from shop restoration.
- Replication matched to original profiles to meet eligibility for historic tax credit.
Visit Gepetto Millworks’ Historic Window Restoration page to see project examples and request an estimate.

Sources
For deeper guidance, consult the EPA’s lead-safe renovation rule, the National Park Service’s wood window repair brief, and the Window Preservation Alliance for trade resources and local support.
- EPA — Lead: Renovation, Repair and Painting Program (RRP)
- Preservation Brief 9: The Repair of Historic Wooden Windows (NPS)
- Sarco DualGlaze product page (Heritage Supply)
- Fine Homebuilding — Glazing a wood window (2026)
FAQ
How do you glaze an old window?
Clean the rabbet of old putty and paint, prime bare wood, then back-bed the glass with a thin putty layer before setting it. Secure the pane with glazing points spaced every 6 to 8 inches, then pack and tool the face putty into a beveled, weather-shedding line, as described in Fine Homebuilding’s glazing workflow.
Is reglazing old windows worth it?
Reglazing is generally worth it when the sash itself is structurally sound, since it preserves original wood that modern lumber cannot replicate and, paired with storm windows, can match the performance of new units according to the National Park Service. It also avoids the recurring cost of replacing low-quality units multiple times over a building’s life.
How much does historic window restoration cost?
Cost depends on the scope of repair, from simple in-place reglazing to full sash rebuilding, and pricing for professional work such as Gepetto Millworks’ restoration services is provided after an on-site assessment. There is no single published rate, since material condition and the number of openings both affect the estimate.
What were old windows coated with?
Historic sash were typically painted with oil-based paints and sealed with linseed oil putty, a compound still used in preservation work today. Modern formulations such as Sarco DualGlaze build on that same linseed and soy oil base while meeting current federal specifications for exterior durability.